
How to Make Greek Yogurt at Home (Creamy, Thick & Beginner-Friendly)
If you’ve ever wondered how to make Greek yogurt at home, you’re in the right place. Greek yogurt feels fancy, healthy, and expensive all at once but the truth is, making it yourself is surprisingly simple. No complicated equipment, no weird ingredients, and definitely no culinary degree required.
I started making Greek yogurt at home when I wanted something cleaner and more versatile for breakfast and snacks. Once I realized how easy it was, I stopped buying the store version altogether. Let’s break it down in a relaxed, step-by-step way so you can feel confident from your very first batch.
What Exactly Is Greek Yogurt?
Greek yogurt is just regular yogurt that’s been strained to remove whey (the watery liquid). This extra step is what makes it thick, creamy, and higher in protein.
Why People Love Greek Yogurt
- Rich, creamy texture
- Naturally high in protein
- Lower sugar per serving
- Extremely versatile
That’s why it shows up everywhere from Greek Yogurt Breakfast bowls to healthy snacks and desserts.
Why Learn How to Make Greek Yogurt at Home?
Before jumping into the process, let’s talk about why homemade is worth it.
Benefits of Homemade Greek Yogurt
- Much cheaper than store-bought
- No additives or preservatives
- Control over thickness and tanginess
- Fresh taste every time
Bold truth: Once you make it yourself, store-bought yogurt feels overpriced and underwhelming.
Check High Protein Recipes Here
Ingredients You’ll Need (Simple & Affordable)
You only need two ingredients to get started.
Ingredients
- Milk (whole milk works best)
- Plain yogurt with live active cultures
That’s it. Everything else is optional support.
Equipment You’ll Need
Nothing fancy required.
Basic Tools
- Heavy-bottom pot
- Spoon or whisk
- Thermometer (helpful but optional)
- Strainer or colander
- Cheesecloth or clean kitchen towel
If you can boil milk, you can do this.
Step-by-Step: How to Make Greek Yogurt
Let’s walk through the process calmly and clearly.
Step 1: Heat the Milk
Pour milk into a pot and heat it slowly to about 180°F (82°C). Stir occasionally to prevent burning.
This step changes the milk proteins and helps create thick yogurt later.
Step 2: Cool the Milk
Remove the pot from heat and let it cool to around 110°F (43°C).
Too hot kills the cultures. Too cool slows fermentation.
Step 3: Add the Yogurt Starter
Whisk 2–3 tablespoons of plain yogurt into the warm milk until smooth.
Make sure your starter contains live active cultures.
Step 4: Incubate the Yogurt
Cover the pot and keep it warm for 6–12 hours.
Ways to keep it warm:
- Wrap the pot in towels
- Place in an oven with the light on
- Set it in a warm spot in your kitchen
The longer it sits, the tangier it gets.
Step 5: Check the Yogurt
After incubation, the milk should look set and jiggle slightly when moved.
At this point, you’ve made regular yogurt.
Turning Regular Yogurt Into Greek Yogurt
This is the defining step.
Step 6: Strain the Yogurt
Line a strainer with cheesecloth and place it over a bowl. Pour the yogurt in and let it drain.
Straining times:
- 1 hour: lightly thick
- 2–3 hours: classic Greek yogurt
- 4+ hours: very thick and spreadable
Bold tip: Save the whey—it’s great for smoothies and baking.
How Thick Should Greek Yogurt Be?
This is totally personal preference.
Texture Options
- Spoonable and creamy for bowls
- Thick for dips and snacks
- Extra thick for cooking or baking
That flexibility is why Greek yogurt works for so many Recipes Using Yogurt.
Common Mistakes (And Easy Fixes)
Don’t worry—most mistakes are fixable.
Mistakes to Avoid
- Adding starter when milk is too hot
- Not keeping yogurt warm enough
- Skipping the straining step
- Rushing the process
If your yogurt is thin, just strain it longer.
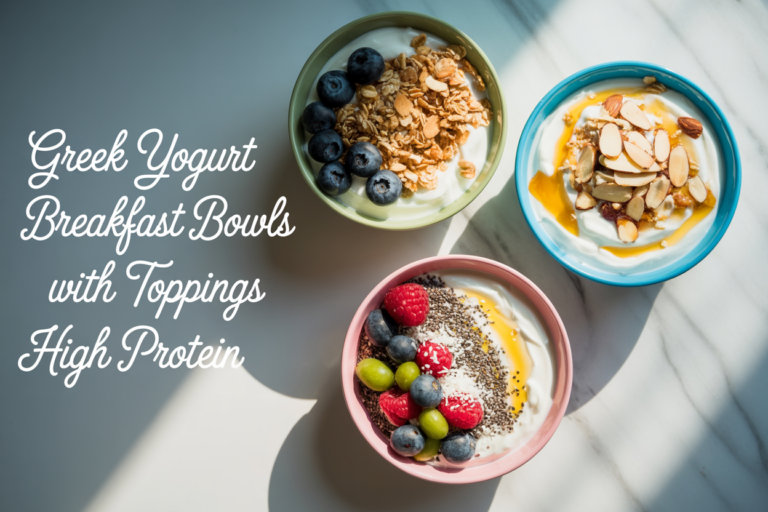
Yogurt Bowl Ideas Using Homemade Greek Yogurt
Once you know how to make Greek yogurt, breakfast gets exciting.
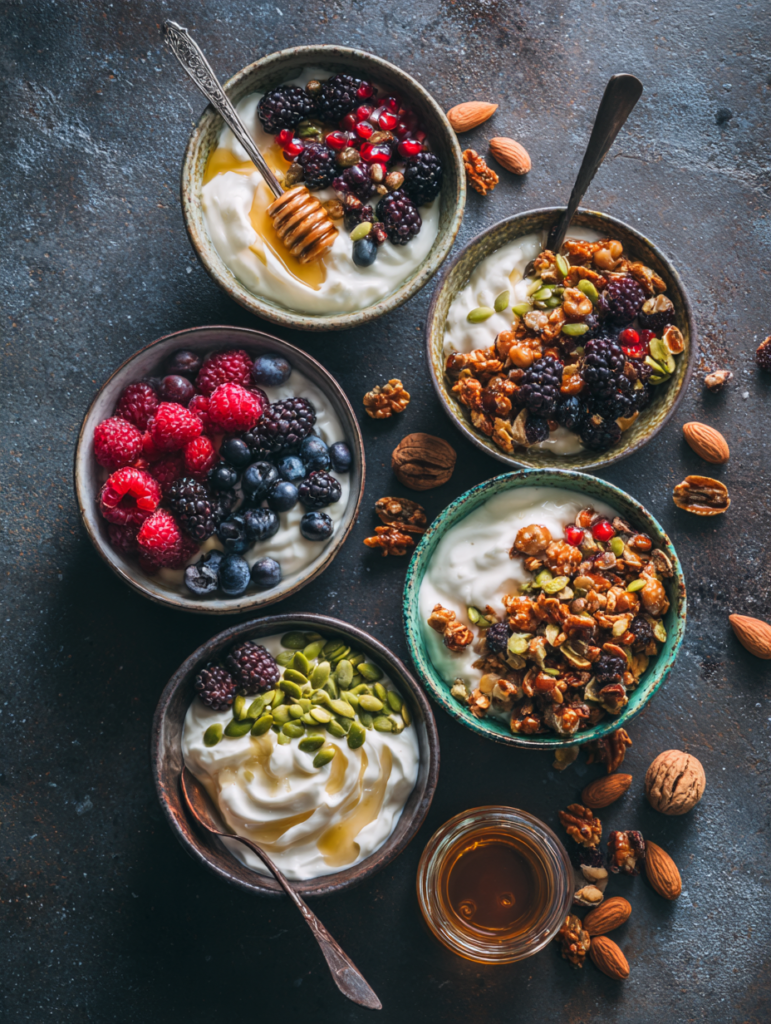
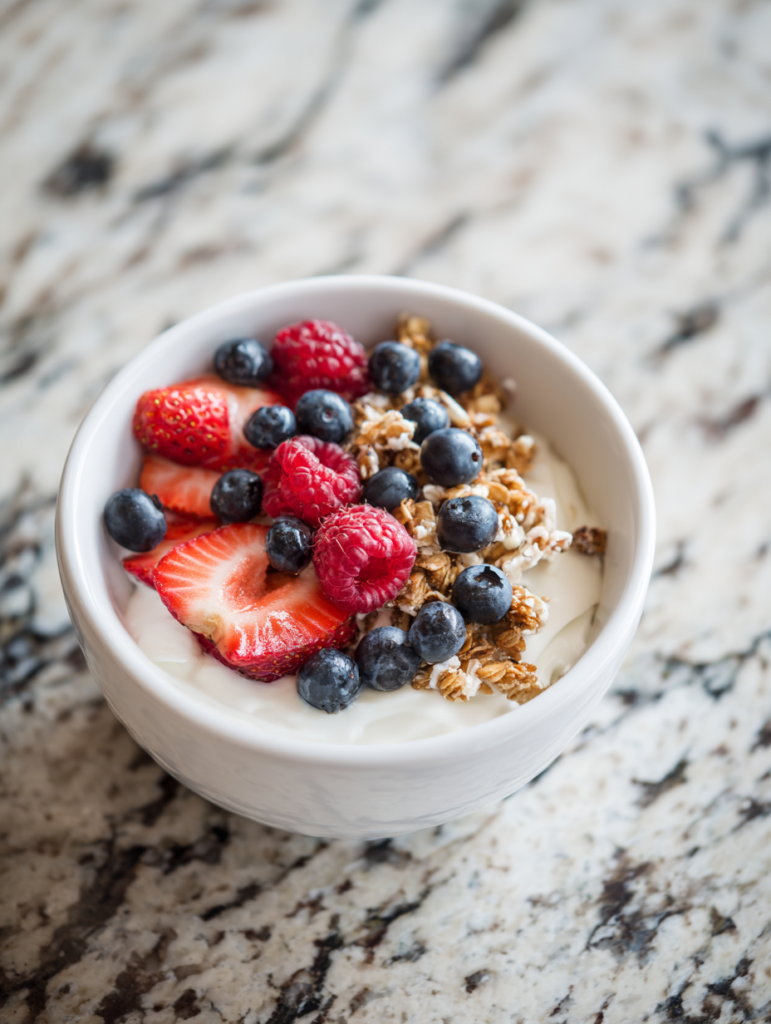
Simple Yogurt Bowl Ideas
- Greek yogurt + berries + honey
- Yogurt + nuts + seeds
- Yogurt + granola + fruit
These bowls are filling, nutritious, and endlessly customizable.
Greek Yogurt Breakfast Made Easy
Greek yogurt is a breakfast hero.
It keeps you full, pairs well with sweet or savory flavors, and works for busy mornings. That’s why it’s a staple in Greek Yogurt Breakfast routines around the world.
Things to Make With Yogurt Beyond Breakfast
Greek yogurt isn’t just for mornings.
Things To Make With Yogurt
- Dips and sauces
- Marinades
- Salad dressings
- Baked goods
It’s one of the most versatile ingredients in any kitchen.
Baked Yogurt Recipe Ideas
Yes, you can bake with it.
Greek yogurt adds moisture and protein to:
- Muffins
- Cakes
- Flatbreads
That’s why it’s popular in Baked Yogurt Recipe variations.
Healthy Yogurt Recipes for Everyday Use
Homemade Greek yogurt fits naturally into a healthy lifestyle.
Why It Works
- High protein
- Naturally low sugar
- Easy to flavor naturally
It’s a foundation ingredient for many Healthy Yogurt Recipes.
Greek Yogurt Snacks You’ll Actually Enjoy
Not all snacks need to be complicated.
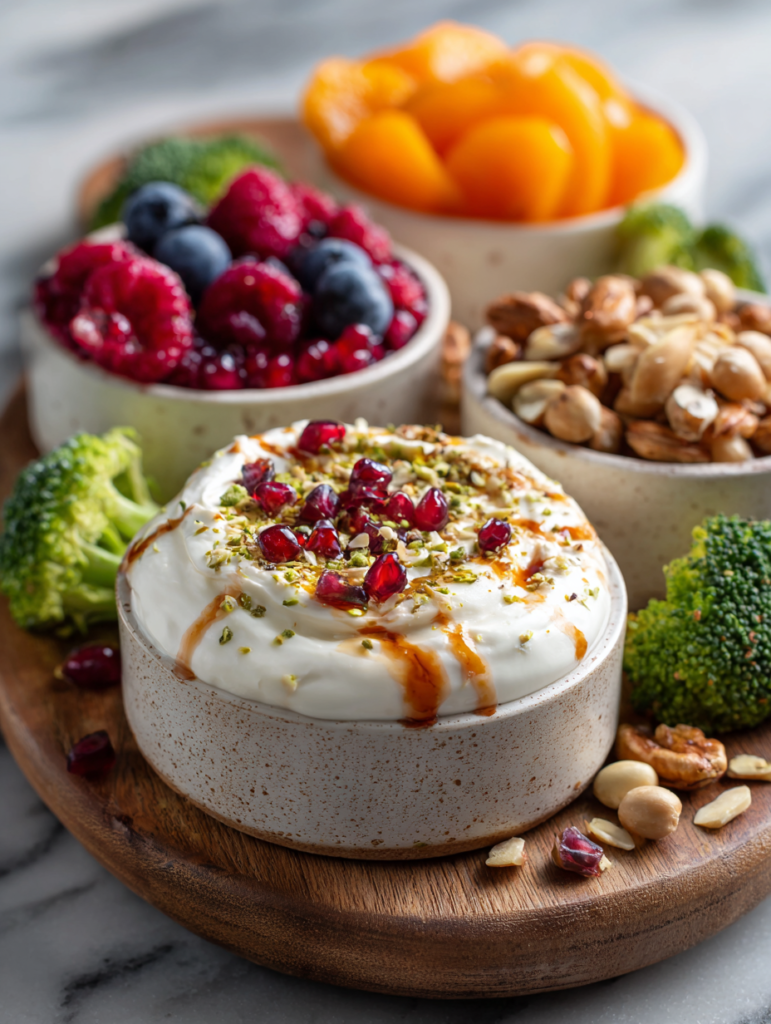
Greek Yogurt Snacks
- Yogurt with fruit
- Yogurt dip with veggies
- Yogurt topped with nuts
Quick, satisfying, and nutrient-dense.
Using Greek Yogurt for Healthy Desserts
Greek yogurt works beautifully in desserts.
It adds creaminess without excess sugar, making it ideal for Healthy Dessert Recipes that don’t feel restrictive.
How Long Does Homemade Greek Yogurt Last?
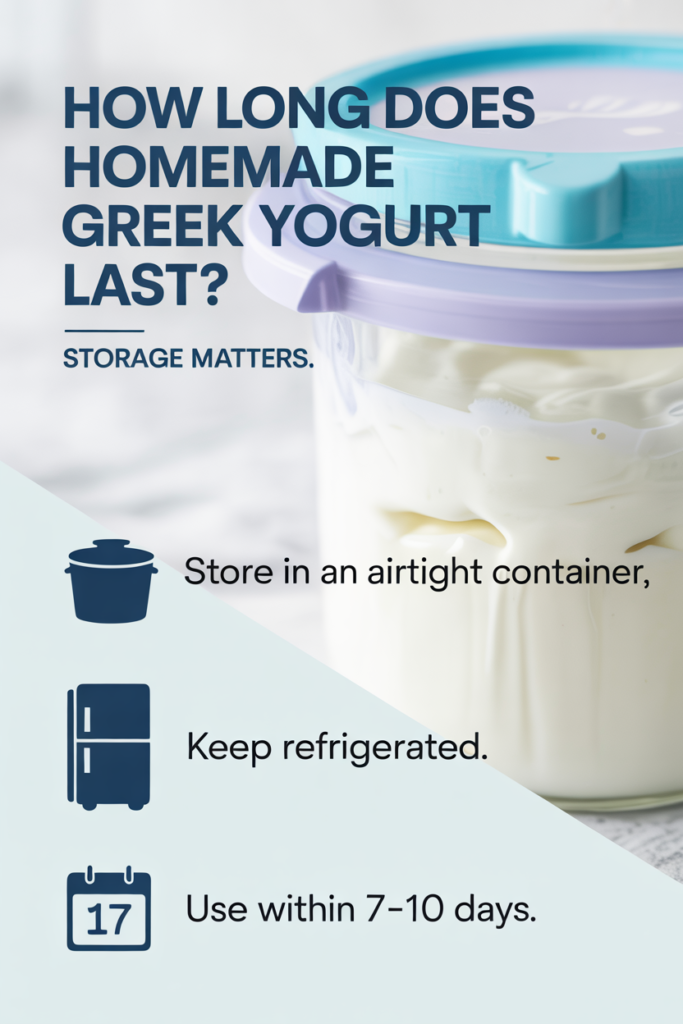
Storage matters.
Storage Tips
- Store in an airtight container
- Keep refrigerated
- Use within 7–10 days
Flavor improves after chilling overnight.
Can You Reuse Homemade Yogurt as a Starter?
Yes and it’s a great habit.
Save a few tablespoons from each batch and use it to start the next one. Refresh with store-bought yogurt every few weeks to keep cultures strong.
Final Thoughts
Learning how to make Greek yogurt at home is one of those skills that pays off again and again. It’s simple, affordable, and opens the door to countless meals, snacks, and desserts. Once you realize how flexible it is from breakfast bowls to baked recipes you’ll wonder why you didn’t start sooner.
Homemade Greek yogurt isn’t just food it’s a foundation for better eating.